Canning 101: A Simple Guide to Putting Up Your Own Food
Share
Canning 101: A Simple Guide to Putting Up Your Own Food
There’s something sacred about lining a shelf with jars you filled yourself. Whether it’s tomatoes, pickles, peaches, or broth, canning lets you hold onto harvests, save money, and stock your pantry with real, whole food.
If you’re new to it, don’t worry — I’ve got you. Here’s everything you need to know to start canning with confidence.
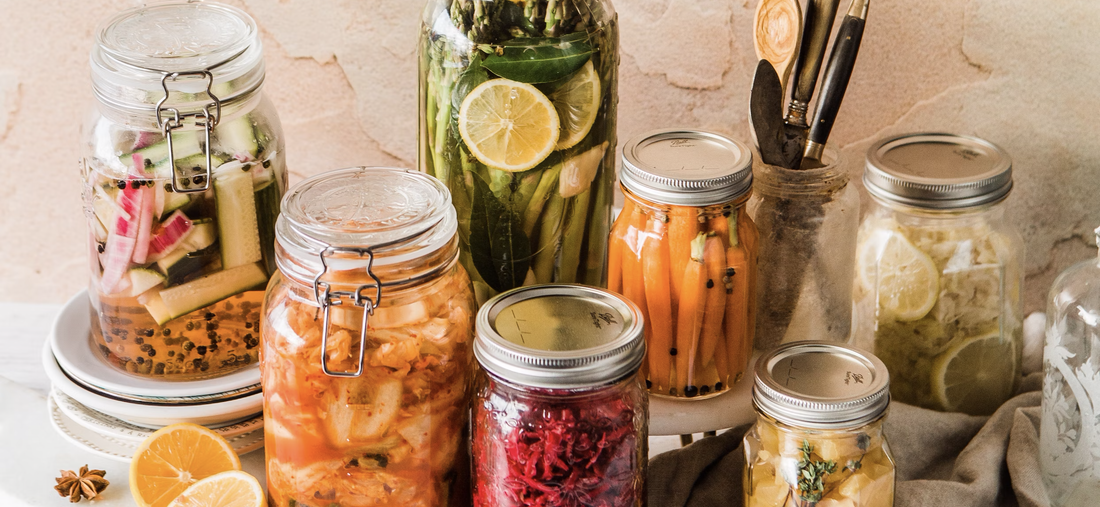
🧺 What Is Canning?
Canning is a way to preserve food in jars by sealing it so it lasts on the shelf. There are two main types:
-
Water bath canning – for high-acid foods like tomatoes, jams, pickles, fruit, and vinegar-based sauces.
-
Pressure canning – for low-acid foods like broth, beans, meats, and some vegetables (like green beans and corn).
🧰 Tools You’ll Need
You don’t need a big setup to start. Here’s what I use in my own kitchen:
For Water Bath Canning:
-
Large stock pot with a rack
-
Canning jars (Ball or Kerr brand are great)
-
New lids + rings (you can reuse jars and rings, but not lids)
-
Jar lifter (trust me, it makes it so much easier)
-
Funnel (for pouring into jars)
-
Clean dish towels and labels
For Pressure Canning:
-
Pressure canner (I use a Presto or All-American — worth the investment)
-
Everything from the list above
Where to Buy Tools:
-
Local hardware stores (especially in farm towns)
-
Walmart or Tractor Supply
-
Amazon (search “canning starter kit”)
-
Lehman’s (for heirloom-style tools)
-
Thrift stores for jars (just buy new lids)
🕰️ How Long Does Canning Take?
Canning isn’t fast — but it’s worth it.
Here’s a rough idea depending on what you’re making:
-
Jam or pickles: 1–2 hours total
-
Tomatoes or applesauce: 2–3 hours
-
Broth or beans (pressure canned): 3–5 hours including cook + cool time
Tip: Set aside a morning or afternoon and treat it like a ritual. Put on music, light a candle, and let it be slow.
🥕 Where to Get the Best Produce to Can
Canning is all about quality + quantity, so buy in bulk when produce is at its peak. Some of my favorite sources:
-
Farmers markets (ask for bruised or “seconds” boxes — they’re cheaper and perfect for canning)
-
U-pick farms (great for berries, tomatoes, and stone fruit)
-
Your own garden (even if it’s small)
-
CSA boxes (some let you order extras)
-
Local Facebook groups or Craigslist farm listings
Seasonal tip: Tomatoes are usually cheapest in late summer, apples in early fall, and strawberries in early June.
🥫 Best Practices for Safe Canning
-
Always start with clean, sterilized jars
-
Use new lids each time (they need a fresh seal)
-
Follow a trusted recipe — canning is science, not vibes
-
Label everything with the date + contents
-
Store in a cool, dark place (like a pantry or basement)
If you’re water-bath canning, make sure your recipe is high-acid (you can add vinegar or lemon juice if needed). For anything else, use a pressure canner — it’s safer and kills more bacteria.
👩🌾 Why I Love Canning
Canning lets me care for my family with real food — no additives, no mystery ingredients, just what we grew, picked, or bought with love. I always feel connected to the seasons when I open a jar of summer peaches in January or use home-canned broth in a winter stew.
It’s slow. It’s old-fashioned. And it’s deeply satisfying.
💬 Want to Try It?
If you’ve never canned before, start small. A few jars of jam or salsa. Some homemade pickles. You don’t have to do it all to get started.
Have questions? Comment below and I’ll help however I can — or share your favorite thing to can, especially if you’re a fellow first-timer. Let’s fill those shelves, one jar at a time.